Understanding why sharp blades matter
The Impact of Sharp Blades on Grooming Performance
Sharp clipper blades are essential for anyone serious about grooming, whether you are a professional barber or a grooming enthusiast. When blades are properly sharpened, they glide smoothly through hair, delivering a cleaner, more precise cut. This not only helps reduce skin irritation but also ensures your style looks polished and professional. Dull blades, on the other hand, can pull or snag hair, leading to discomfort and uneven results.
Maintaining sharpness in your clipper blades is also a matter of efficiency. Sharp blades require less effort from the motor, which can extend the lifespan of your hair clipper and trimmer. Regular blade sharpening can help you avoid the cost of frequent replacements, making it a smart investment for both home users and barbers managing their kit. The unit price of replacement blades and the price unit for professional sharpening services can add up quickly, so learning to sharpen your own blades is a practical skill.
For those interested in the technical side, the grit of your sharpening stone and the quality of your clipper oil play a big role in the final result. Using the right tools and materials not only improves the sharpness but also helps maintain the integrity of your clipper blades over time. Clean blades and proper oiling are crucial steps in this process, as they prevent rust and buildup that can dull the blade edge.
Sharp blades are not just about performance—they also reflect your commitment to hygiene and client satisfaction. Clean, well-maintained blades help prevent the spread of bacteria and ensure every grooming session is safe. For more details on why investing in quality barber tools and blade sharpening is worth it, view this guide on precise grooming with top-rated clippers.
Whether you shop for a full sharpening kit or just need to top up your clipper oil, keeping your tools in top shape is key. Many online stores offer free shipping on select grooming tools and sharpening stones, so it’s worth checking the cart subtotal before completing your order. Remember, the right maintenance routine can help you get the most out of your blades and keep your grooming style sharp and professional.
Signs your clipper blades need sharpening
Key Indicators Your Clipper Blades Need Attention
Recognizing when your clipper blades require sharpening is essential for both professional barbers and grooming enthusiasts. Dull blades can tug at hair, cause uneven cuts, and even damage your clipper. Here are the main signs to watch for:
- Pulling or snagging hair: If you notice the clipper pulling or snagging instead of gliding smoothly, the blades likely need sharpening.
- Uneven or patchy results: Dull clipper blades can leave hair uneven, making it difficult to achieve a clean style or professional finish.
- Increased noise or heat: When blades are dull, the motor works harder, often resulting in more noise and heat during grooming sessions.
- Visible nicks or corrosion: Inspect your clipper blades regularly. Any visible damage, rust, or buildup means it’s time for maintenance or sharpening.
- Frequent oiling doesn’t help: If you’re applying clipper oil as recommended but still experiencing issues, sharpening may be necessary.
Regularly checking your clipper blades for these signs can help reduce wear and extend the life of your grooming tools. Investing in a quality sharpening stone or a full blade sharpening kit can make a significant difference in performance and price over time. For those interested in professional-grade results, Heiniger Saphir clippers are often highlighted for their precision and durability in the barber community.
Remember, keeping your clipper blades sharp not only improves your grooming experience but also helps maintain the value of your barber tools. Clean, sharp blades are key to achieving the style you want, whether you’re a professional barber or simply passionate about at-home grooming.
Tools and materials for sharpening clipper blades
Essential gear for sharpening your clipper blades
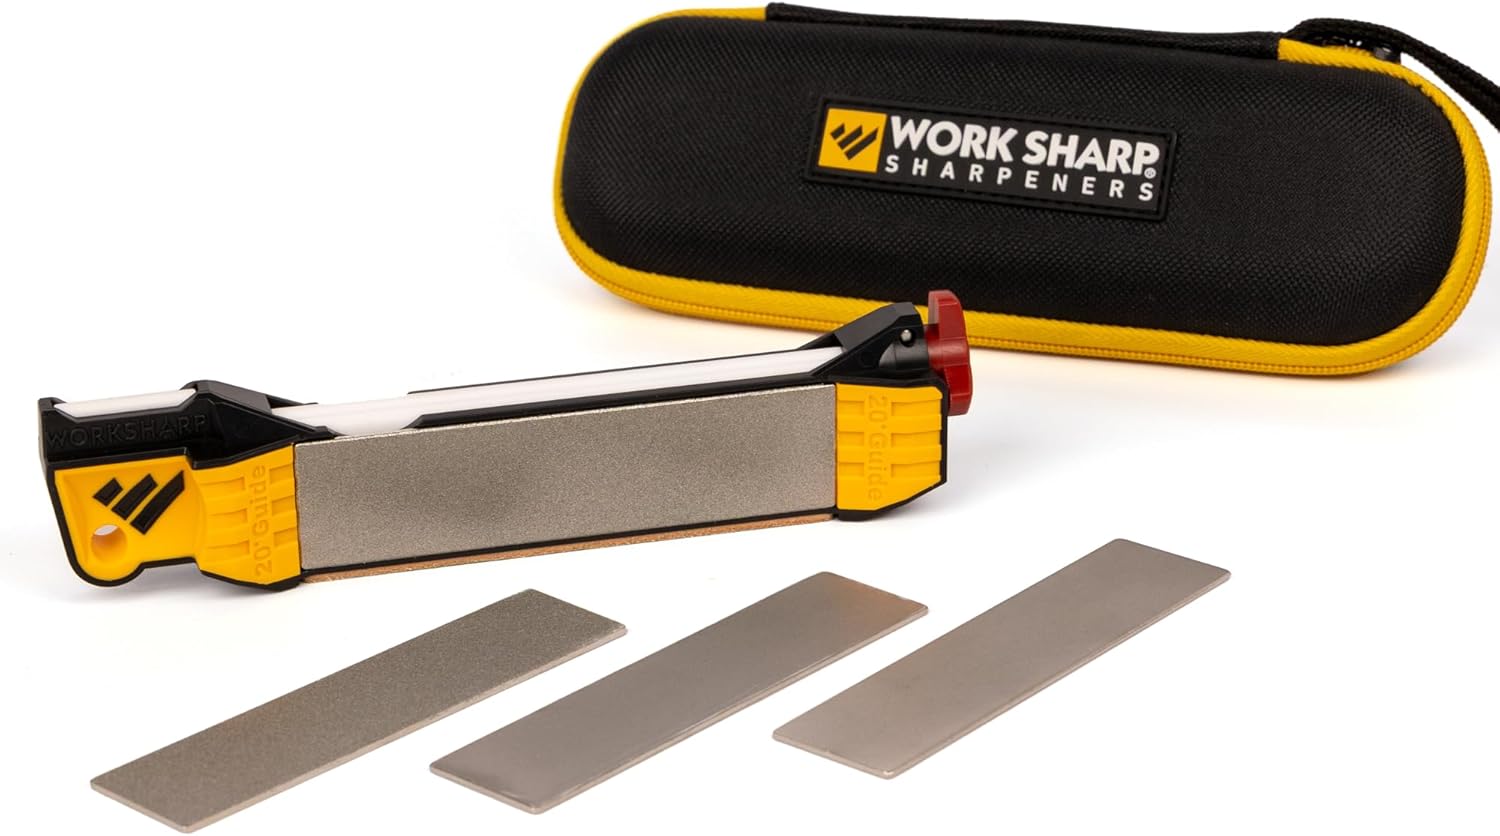
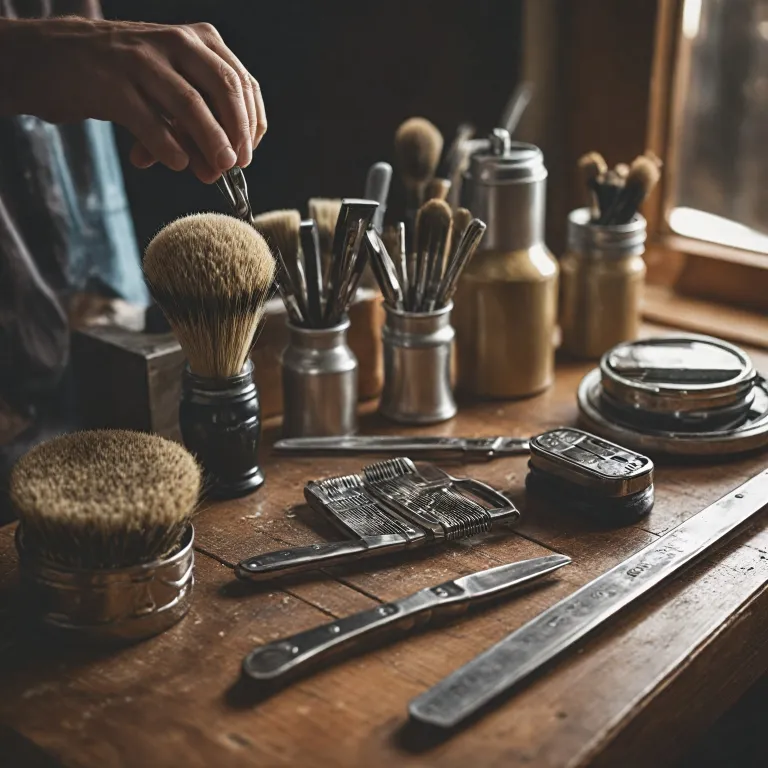
Before you start sharpening your clipper blades, it's important to gather the right tools and materials. Using the correct equipment not only helps you achieve a smoother shave but also extends the life of your grooming gear. Whether you're a professional barber or a grooming enthusiast, having a reliable sharpening kit is key to maintaining your trimmer blades.
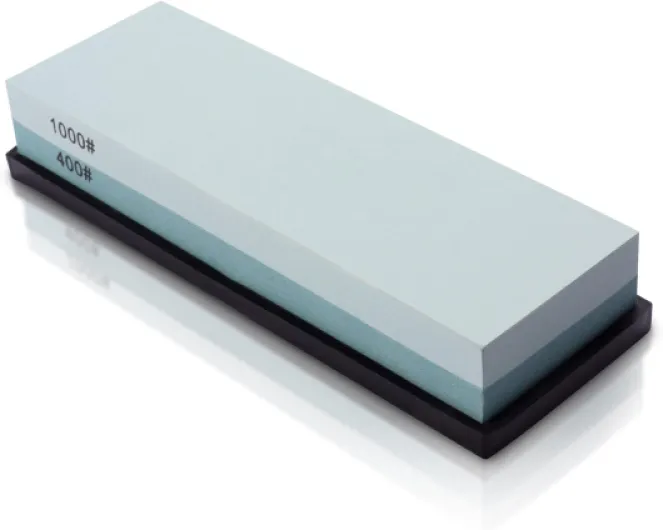
- Sharpening stone: Look for a stone with a suitable grit for your blades. Finer grit stones help achieve a polished edge, while coarser grit is better for dull or damaged blades. The price of sharpening stones can vary depending on the grit and brand, so compare unit price and read product details before you shop.
- Clipper oil: After sharpening, oiling your clipper blades is crucial. It helps reduce friction, prevents rust, and ensures a smoother cut. Most barber tools kits include a small bottle, but you can purchase larger bottles for frequent use.
- Cleaning brush: Keeping your blades clean before and after sharpening is essential. A small brush helps remove hair and debris from the blade and trimmer, ensuring better results. For a deeper clean, consider using a specialized blade wash. You can read the full guide on cleaning your electric shaver with blade wash for more details.
- Screwdriver: Most hair clippers require you to remove the blades for sharpening. A standard or Phillips screwdriver will do the job, depending on your clipper model.
- Soft cloth or towel: Use this to dry and polish your blades after sharpening and cleaning. It also helps keep your workspace tidy.
Some brands offer a complete sharpening kit, which can be a convenient option if you want all the necessary tools in one package. Check for free shipping or shipping orders deals when you view or shop online to save on costs. Always check the product details and reviews on social media or trusted grooming forums before purchasing barber tools or sharpening stones.
Remember, investing in quality tools not only helps you maintain your clipper blades but also ensures a better grooming experience. Clean, sharp blades help reduce skin irritation and deliver a professional style every time.
Step-by-step guide to sharpening clipper blades
Preparing Your Clipper Blades for Sharpening
Before you start sharpening, make sure your clipper blades are completely clean. Use a small brush or an old toothbrush to remove any hair, oil, or debris from the blades. This step is essential for a smooth sharpening process and helps reduce the risk of damaging your barber tools. If your grooming kit includes a cleaning solution, apply it to the blades and wipe them dry. Always disconnect your clipper from power before handling the blades.Disassembling the Clipper Blades
Most professional barber clippers and trimmers allow you to remove the blades easily. Use a screwdriver to take off the screws holding the clipper blade in place. Keep all parts organized so you can reassemble them later. Pay attention to the details of how the blades fit together, as this will help you during reassembly.Sharpening the Blades with a Sharpening Stone
Choose a sharpening stone with the right grit for your blades. A medium grit (around 400 to 600) is often suitable for most clipper blades. Wet the stone slightly if required by the manufacturer. Hold the blade flat against the stone and move it in a smooth, circular motion. Repeat this process for both the top and bottom blades. Check the blade surface regularly to ensure even sharpening.- Use gentle pressure to avoid removing too much metal
- Sharpen each blade for about 10-15 passes
- Wipe the blades clean after sharpening
Reassembling and Oiling the Blades
Once sharpening is complete, carefully reassemble the clipper blades. Make sure all screws are tightened securely, but do not overtighten. Apply a few drops of clipper oil along the teeth and moving parts. This step is crucial for smooth operation and helps extend the life of your grooming tools. Run the clipper for a few seconds to distribute the oil evenly.Testing and Final Checks
Test your hair clipper on a small section of hair or a piece of thread to check the sharpness. If the blades cut cleanly without pulling, your sharpening was successful. If not, repeat the sharpening process with a finer grit stone. Regular maintenance and proper storage will help keep your clipper blades sharp and ready for any grooming style.
Common mistakes to avoid when sharpening blades
Frequent sharpening errors that can dull your blades
- Skipping cleaning before sharpening: Always clean your clipper blades thoroughly before you start sharpening. Hair, oil, and debris can interfere with the sharpening stone and lead to uneven results. Clean blades help reduce the risk of damaging your tools and ensure a smoother grooming experience.
- Using the wrong grit: Choosing the right grit for your sharpening stone is crucial. Too coarse, and you risk removing too much metal; too fine, and you might not sharpen enough. For most barber tools, a medium grit is a safe starting point. Always read the details on your sharpening kit to match the grit to your blade type.
- Incorrect sharpening angle: Maintaining the correct angle is essential for effective blade sharpening. If you tilt the blade too much, you could round the edge instead of sharpening it. Most professional barber guides recommend keeping the blade flat against the stone for best results.
- Neglecting lubrication: After sharpening, always apply clipper oil to your blades. This step helps reduce friction, prevents rust, and extends the life of your clipper blades. Skipping this can lead to faster dulling and more frequent sharpening needs.
- Over-sharpening: Sharpening too often or removing too much metal can shorten the lifespan of your blades. Monitor the condition of your trimmer blades and only sharpen when you notice signs of dullness, as discussed earlier in this guide.
- Ignoring manufacturer instructions: Every hair clipper or trimmer may have specific care instructions. Always view the manual or product details before you start. This helps avoid voiding warranties or damaging your grooming tools.
Tips to avoid costly mistakes
- Invest in a quality sharpening kit with clear instructions and the right grit for your blades.
- Keep your sharpening tools clean and store them properly to maintain performance.
- Check the unit price and shop for free shipping offers to get the best value on barber tools and clipper oil.
- Follow social media accounts of professional barber supply shops for tips, deals, and updates on new grooming products.
By paying attention to these details, grooming enthusiasts and professionals alike can maintain sharp, effective clipper blades and enjoy a smoother, more precise style. For more information about blade care and grooming, always read the full product instructions and consult reputable sources. All rights reserved. Cart subtotal and shipping orders may vary by retailer.
Maintaining sharpness and extending blade life
Keeping Your Blades Sharp for Longer
After sharpening your clipper blades, it’s important to maintain their edge to ensure a smooth shave and avoid frequent sharpening. Whether you’re a professional barber or a grooming enthusiast, proper care can help reduce wear and extend the life of your tools. Here are some practical steps to keep your blades in top condition:
- Clean after every use: Hair, oil, and debris can build up on clipper blades, dulling them over time. Use a small brush or a cleaning kit designed for barber tools to remove residue. For a deeper clean, detach the blades and rinse them if your model allows.
- Lubricate regularly: Applying clipper oil after each use helps reduce friction and prevents rust. Just a few drops along the blade’s edge will keep it running smoothly. This simple habit can make a big difference in blade longevity.
- Store properly: Keep your clippers and trimmers in a dry place, ideally in a protective case or pouch. Avoid leaving them in damp environments, as moisture can cause corrosion and affect blade sharpness.
- Check blade alignment: Misaligned blades can cause uneven cuts and extra wear. Before each use, inspect the blades and adjust if necessary. This is especially important for those who use their tools frequently or offer professional grooming services.
- Use the right sharpening stone: When it’s time to sharpen again, choose a sharpening stone with the correct grit for your blades. Using the wrong grit can damage the blade or result in a poor edge. Investing in a quality sharpening kit can save you money on replacement blades and shipping orders.
By following these steps, you’ll not only get a better shave but also save on unit price and shipping costs for new blades. Regular maintenance also helps preserve the details and style you want in your grooming routine. For those who shop online, look for retailers offering free shipping and competitive price units on barber tools and accessories.
Remember, well-maintained clipper blades are essential for both safety and performance. If you’re unsure about any part of the process, always read the full instructions provided with your grooming kit or consult with a professional. Keeping your tools clean and sharp is a smart investment in your grooming experience and your equipment’s lifespan. All rights reserved.