
Understanding the needs of your cat's coat
Recognizing Your Cat’s Unique Coat Type
Every cat has a different coat, and understanding this is crucial before choosing grooming clippers. Some cats have long, thick fur that mats easily, while others have short, fine hair. The density and texture of your cat’s coat will influence the type of clipper, blade, and grooming kit you need. For example, long-haired cats or those with double coats may require a more powerful clipper with multiple speed settings and sharp blades to avoid pulling or snagging. Short-haired cats, on the other hand, might do well with a basic cordless trimmer or paw trimmer that’s gentle and precise.
Why Coat Condition Matters for Grooming
Matted or tangled fur can make grooming more challenging and uncomfortable for your pet. If your cat is prone to mats, look for grooming clippers with a strong motor and a variety of blades to handle tough spots. Waterproof and low noise features are also important, as cats are sensitive to sound and water resistance makes cleaning easier. Some clippers electric models come with LED displays to help you monitor speed and battery life, which is especially helpful for longer grooming sessions.
- Long-haired cats: Need a clipper trimmer with adjustable blades and higher speed.
- Short-haired cats: A basic rechargeable trimmer or grooming kit may suffice.
- Cats with sensitive skin: Look for pet clippers with hypoallergenic blades and low vibration.
- Multi-pet households: Consider a clippers kit suitable for both dogs cats and cats animals, especially if you also groom a dog or use a nail grinder for both.
Assessing Your Cat’s Grooming Tolerance
Some cats are more tolerant of grooming than others. If your cat is nervous or easily startled, opt for low noise clippers or a waterproof dog hair trimmer that minimizes vibration. The right grooming clippers can make the experience less stressful for both you and your pet. For cats that dislike nail trimming, a nail grinder or specialized trimmer nail attachment can be helpful.
Choosing the right grooming tools is the first step to safe and effective cat grooming. For pet owners interested in advanced grooming techniques, consider learning about using an edger attachment for more precise results, especially if you also groom dogs or want to maintain a professional finish.
Key features to look for in grooming clippers for cats
What Makes a Good Cat Grooming Clipper?
Choosing the right grooming clippers for cats is more than just picking a popular brand or a flashy design. Cats have sensitive skin and unique coat types, so the features you prioritize can make a big difference in comfort and results. Here’s what to look for when selecting a clipper or trimmer for your pet:
- Blade Quality and Type: Stainless steel or ceramic blades are preferred for their sharpness and durability. Detachable blades make cleaning easier and allow you to switch lengths for different grooming needs. For more on blade lengths and precision, check out this guide on understanding hair clipper guard lengths.
- Low Noise and Vibration: Cats are sensitive to sound. Look for clippers with low noise ratings and minimal vibration to reduce stress for your pet. Many pet clippers are designed specifically for quiet operation, which is also helpful for dog grooming.
- Cordless and Rechargeable Options: Cordless clippers offer flexibility and ease of movement, especially when dealing with anxious cats. A rechargeable battery with a decent runtime (at least 60 minutes) is ideal for most grooming sessions.
- Waterproof Design: Waterproof or water-resistant clippers make cleaning up after grooming much easier. This is especially useful if you plan to use the clippers on wet fur or need to rinse them under water.
- Speed Settings: Adjustable speed settings let you tailor the clipper’s power to your cat’s coat thickness. Lower speeds are gentler for sensitive areas, while higher speeds handle matted or thick fur.
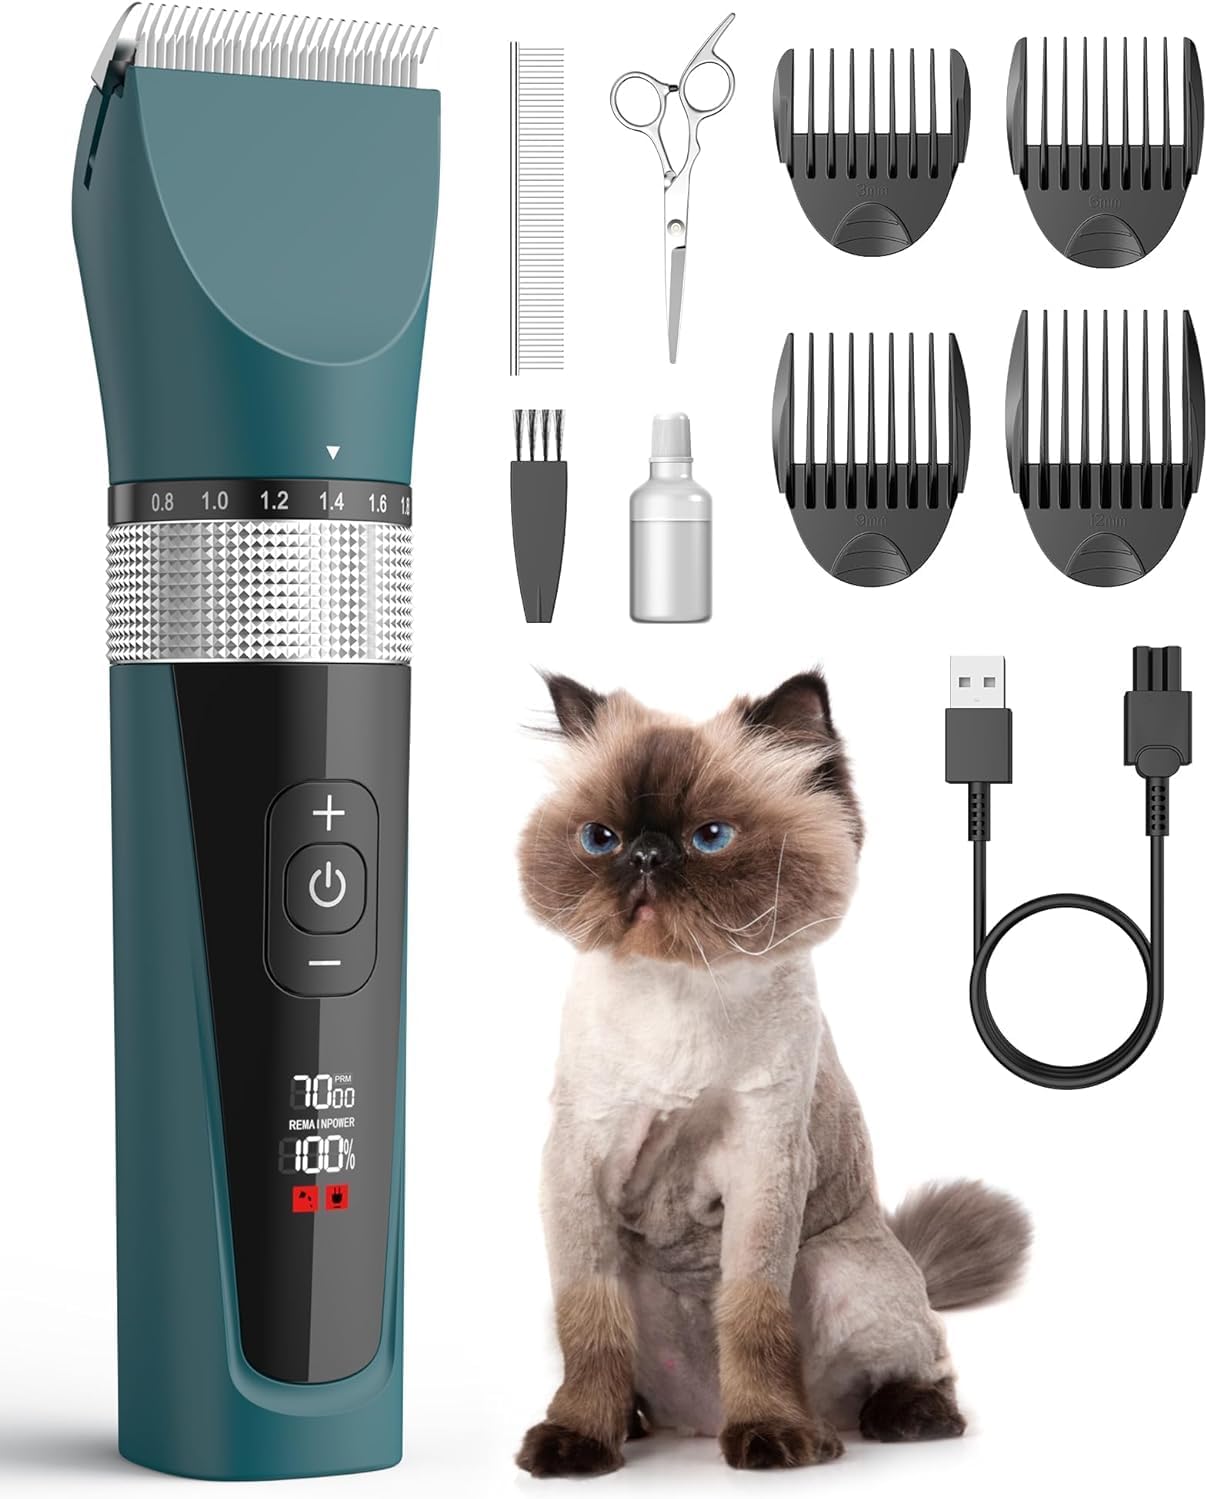
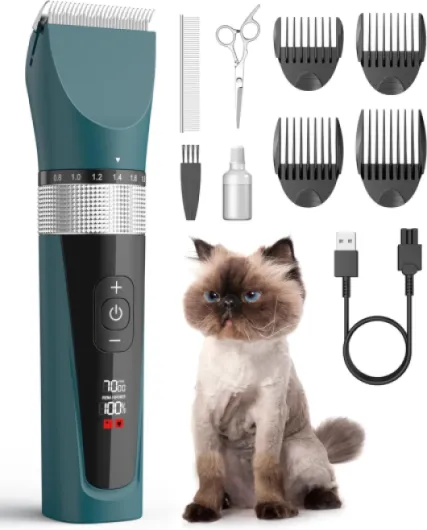
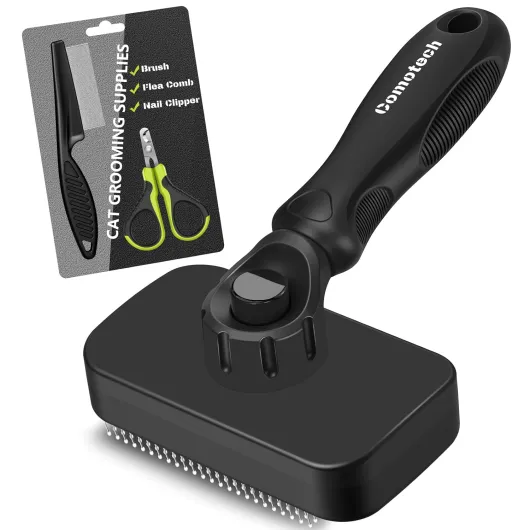
- Kit Inclusions: Many grooming kits include extra blades, a nail grinder, paw trimmer, cleaning brushes, oil, and guide combs. These extras can add value and convenience, especially for multi-pet households with both dogs and cats.
- LED Display: Some modern clippers feature an LED display to show battery life, speed, and maintenance reminders. While not essential, it’s a handy feature for keeping track of your grooming kit’s status.
- Price and Warranty: Compare prices and check for warranty coverage. Reliable brands like Wahl often offer solid warranties and replacement parts, which can be important for long-term use.
Comparing Cat Clippers to Dog Clippers
While some clippers are marketed for both dogs and cats, it’s important to ensure the clipper is gentle enough for cats’ finer fur and sensitive skin. Dog clippers may be too powerful or heavy for cats animals, so always check the product details and user reviews (stars ratings) before buying. Cat-specific grooming clippers or a dedicated paw trimmer can make a big difference in safety and comfort.
Don’t Forget the Details
Look for features like a nail trimmer or nail grinder included in the kit, especially if you want an all-in-one grooming solution. Waterproof dog clippers can be used for both cats and dogs, but always prioritize safety and ease of use. Remember, the right grooming kit can make grooming less stressful for both you and your pet.
Preparing your cat and workspace for grooming
Setting Up for a Calm and Safe Grooming Session
Before you start using your grooming clippers or trimmer on your cat, it’s important to create a stress-free environment. Cats are sensitive animals, and a calm workspace can make a big difference in how smoothly the grooming goes. Here are some practical steps to help you and your pet prepare:- Choose a quiet, well-lit area – Low noise is key. Avoid places with loud dog grooming or household sounds. A waterproof mat can help keep the area clean, especially if your clippers are waterproof.
- Gather your grooming kit – Make sure your clippers, blades, paw trimmer, nail grinder, and any other tools are clean and ready. If you’re using a cordless or rechargeable clipper, check the battery level or LED display. Having a complete clippers kit nearby saves time and reduces stress for both you and your cat.
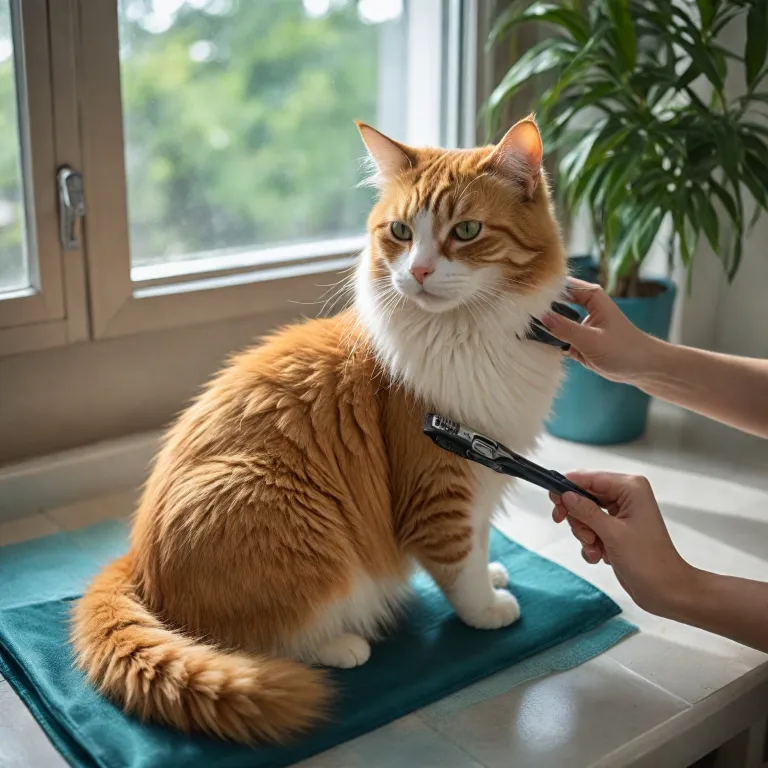
- Brush your cat first – Detangle any knots and remove loose hair. This step helps the clipper blade glide smoothly and prevents pulling. For cats with thick coats, a pre-grooming brush is especially helpful.
- Check your cat’s mood – If your cat seems anxious, try calming them with gentle petting or treats. Some cats respond well to pheromone sprays or a favorite toy nearby.
- Secure your cat safely – Place your cat on a non-slip surface. Some pet owners use a towel to gently wrap their cat, leaving only the area to be trimmed exposed. This can help prevent sudden movements.
- Inspect your tools – Ensure your clippers, blades, and grooming kit are clean and oiled. Dull blades can tug on hair and cause discomfort. If you’re using an electric or waterproof dog clipper for cats, double-check that it’s set to the right speed and is safe for cats animals.
Step-by-step guide to trimming your cat safely
Setting Up for a Calm Grooming Session
Before you start trimming your cat’s coat, make sure your grooming kit is ready and your workspace is quiet. Cats are sensitive to noise and sudden movements, so using low noise clippers or a cordless trimmer can help keep your pet calm. Lay out your clippers, blades, nail grinder, and any attachments from your clippers kit. If your model is rechargeable, check the battery level or plug it in for uninterrupted grooming. A waterproof dog or cat clipper can be handy for easy cleaning after use.
Step-by-Step Cat Grooming Process
- Brush First: Gently brush your cat’s fur to remove tangles and mats. This helps the clipper blade glide smoothly and prevents pulling.
- Start with the Right Blade: Choose a blade length suitable for your cat’s coat type. For sensitive areas, a paw trimmer or smaller attachment works best.
- Begin at the Neck: Turn on your electric clippers and start at the neck, moving in the direction of hair growth. Keep the blade flat against the skin to avoid nicks.
- Work in Sections: Trim the back, sides, belly, and legs in small sections. If your cat gets restless, take breaks and offer treats.
- Use Low Speed for Delicate Areas: For trimming around the face, paws, or tail, switch to a lower speed or use a dedicated paw trimmer. This reduces the risk of injury.
- Check Blade Temperature: Clippers can heat up during use. Pause occasionally to touch the blade and let it cool if needed. Overheated blades can hurt your pet.
- Trim Nails Carefully: Use a nail grinder or trimmer nail attachment to gently shorten your cat’s nails. Avoid cutting too close to the quick.
Tips for a Safe and Effective Trim
- Always use pet clippers designed for cats animals, not dog clippers or human hair trimmer tools.
- Keep your grooming clippers clean and free of hair buildup for better performance.
- If your cat becomes anxious, stop and try again later. Patience is key for a positive grooming experience.
- Consider models with an LED display to monitor speed and battery life during longer sessions.
- Compare price and stars (ratings) when choosing a clipper trimmer or grooming kit for your cat grooming needs.
Troubleshooting common grooming challenges
Handling Mats, Tangles, and Difficult Fur
Even with the best grooming clippers or a complete grooming kit, mats and tangles in your cat’s coat can be tough to manage. Start by gently working through knots with a comb before using your clipper or trimmer. For stubborn mats, use a cordless pet clipper with adjustable blades and low noise to avoid startling your cat. If the mat is too close to the skin, consider using a paw trimmer or a specialized cat trimmer for precision. Never pull on the fur, as this can hurt your pet and make future grooming sessions more stressful.
Dealing with Nervous or Fidgety Cats
Some cats and animals are naturally anxious about grooming. To help, choose clippers electric with low vibration and quiet operation. Rechargeable models are convenient, letting you move freely without cords. If your cat tries to escape, pause and offer treats or gentle reassurance. Grooming in short sessions can help build trust over time. For extra safety, keep a nail grinder or nail trimmer handy to prevent accidental scratches.
Managing Blade Heat and Performance
During longer grooming sessions, clipper blades can heat up, causing discomfort for your cat. To avoid this, use clippers with a waterproof or detachable blade system for easy cleaning and cooling. Some models, like those with an LED display, let you monitor speed and battery life, so you can adjust as needed. If you notice the blade getting warm, turn off the clipper and let it cool, or switch to a spare blade from your kit.
Addressing Uneven Cuts and Missed Spots
Uneven trims can happen, especially with thick or double coats. Use a grooming comb to lift the fur and go over missed areas with your clipper trimmer. For hard-to-reach spots, a smaller paw trimmer or a waterproof dog trimmer can help. Always check your work in good lighting to ensure a smooth, even finish.
- Choose the right speed setting for your cat’s coat type
- Keep your blades sharp and clean for best results
- Use a grooming kit with multiple attachments for versatility
When to Seek Professional Help
If your cat is extremely stressed, or if you encounter mats that are too severe for home grooming, it’s best to consult a professional groomer or veterinarian. They have specialized pet clippers and experience handling cats and dogs safely. Remember, your cat’s comfort and safety always come first, no matter the price or stars rating of your grooming tools.
Maintaining your grooming clippers for long-term use
Cleaning and Disinfecting Your Clippers
After each grooming session, it’s essential to remove hair and debris from your cat clippers. Use the cleaning brush that comes with most grooming kits to sweep away fur from the blade and body. For waterproof dog or cat clippers, rinse the detachable blades under running water, but always dry them thoroughly before reassembling. Disinfecting the blade regularly helps prevent the spread of bacteria between pets, especially if you use the clippers for both cats and dogs.
Blade Care for Long-Lasting Performance
Sharp blades are crucial for a smooth, snag-free trim. Apply a few drops of clipper oil to the blade before and after each use. This reduces friction, prevents rust, and extends the life of your electric clipper. If your grooming clippers have a self-sharpening feature, check the manufacturer’s instructions for maintenance tips. For rechargeable or cordless models, ensure the blade is always clean before charging or storing.
Battery and Charging Tips
- For rechargeable clippers, follow the recommended charging cycle to maintain battery health.
- Avoid overcharging, as this can reduce battery lifespan.
- Some models feature an LED display to indicate battery status—use this to plan your grooming sessions and avoid mid-trim power loss.
Storing Your Grooming Kit
Store your grooming kit, including the clipper trimmer, nail grinder, and paw trimmer, in a dry, dust-free place. Many pet clippers come with a storage case or pouch. Keeping all accessories together helps prevent loss and damage, especially for small parts like guide combs and extra blades.
When to Replace Blades and Accessories
Even with proper care, blades and attachments will wear out over time. If you notice the clipper pulling hair or making unusual noise, it may be time to replace the blade. Check the price and availability of replacement parts for your specific model, such as wahl or other popular brands. Regularly inspect the grooming kit for signs of wear, especially if you groom multiple cats animals or use the clippers for dog hair as well.
Quick Reference Table: Clipper Maintenance Checklist
| Task | Frequency | Notes |
|---|---|---|
| Clean blades | After every use | Use brush or rinse if waterproof |
| Oil blades | Before/after every use | Prevents rust and friction |
| Disinfect blades | Weekly or after grooming sick pets | Use pet-safe disinfectant |
| Charge battery | As needed | Follow manufacturer’s guidance |
| Replace blades/accessories | When dull or damaged | Check for compatible parts |